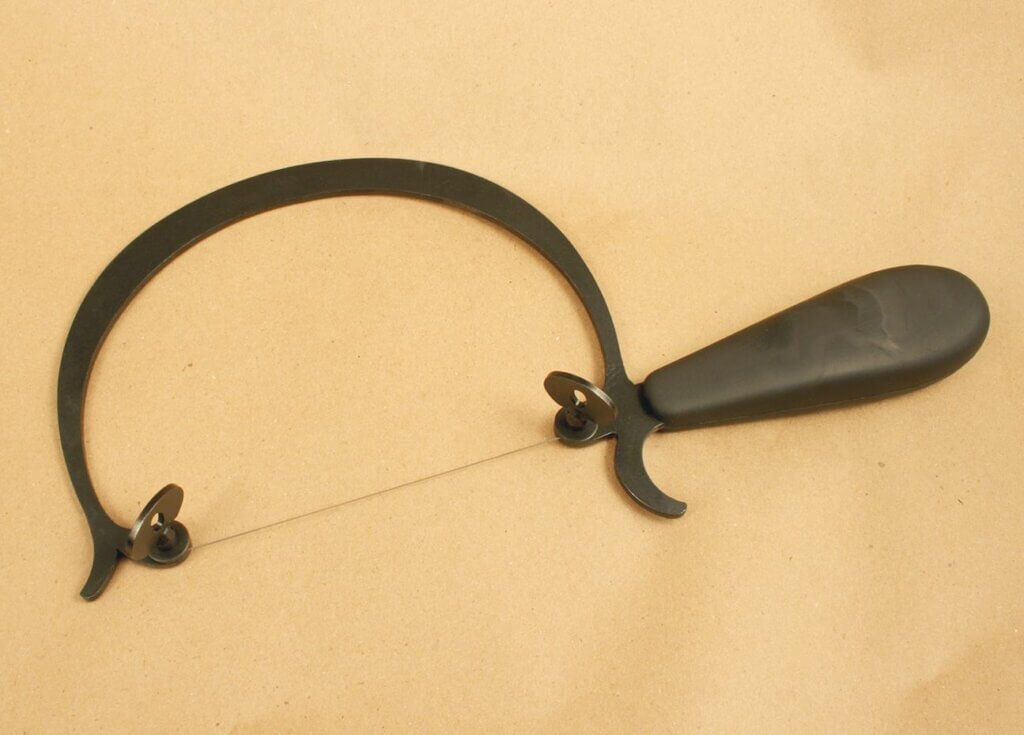
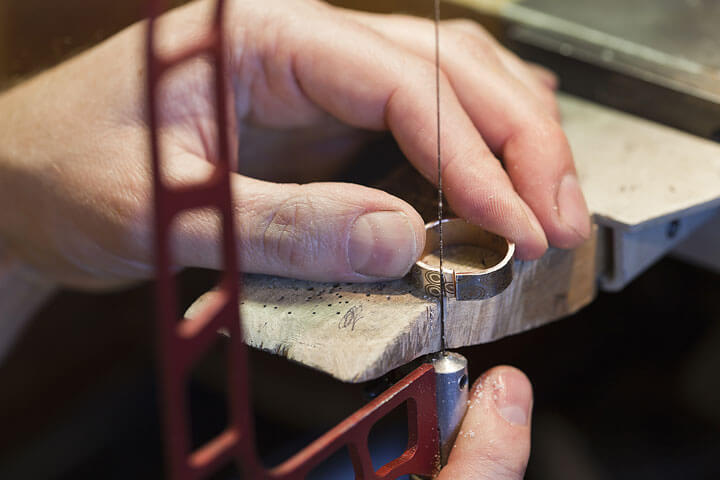
Starting out in jewelry making? Need to brush up on your pre-existing knowledge? Either way, you’ll need to know how to use a jeweler’s saw. And this can be pretty tricky if you’re learning it for the first time. So to help you on your way, we’ve listed everything you need to know for using a jeweler’s saw – from attaching the right blades to the correct way to use them. Find out the 3 Important Things on Using a Jeweler’s Saw.
3 Important Things on Using a Jeweler’s Saw that You Should Know
1. Size of Jeweler’s Saw Blade

First things first, you need to use the correct size blade. Depending on the thickness of the metal you’re using, your saw blade will need to match. For thinner metals, use a blade with more teeth and vice versa.
2. Steps on Attaching a Blade in a Jeweler’s Saw

Now you’ve sorted the right sized blade, next up is attaching it to the saw frame.
- First up, you’ll need to establish the teeth’ direction – they need to face downwards when in the frame.
- Next, loosen the thumbscrew on the top of the frame and insert the blade in between the plates with the teeth facing outwards.
- Once you’ve re-tightened the thumbscrew, do the same with the bottom so that the blade is in place.
- The last step to ensure the blade is fitted properly is the sound test. Pluck the blade as you would a guitar string. If you hear a ‘twang’ – it’s not tight enough. If you hear a ‘ping,’ you’re ready to start sawing.
Top tip: While tightening the bottom screw, push the frame against your workbench. This helps to make sure that the blade is fitted tightly.
3. Avoid Breaking the Blades

You’ve attached your blade, and you’re ready to start sawing, but there are still a few key tips to consider. Here’s how to use a jeweler’s saw to avoid breaking blades:
- Avoid twisting the blade. This sounds fairly obvious, but it can happen without you noticing. If you’re sawing a design with many curves, make sure the blade isn’t twisting to the side as it can snap pretty easily.
- Be careful with corners. If you’re sawing something with sharp corners, all is not lost. You can saw the corners without breaking a blade every time. All you have to do is stop when you reach the corner, continue the sawing motion without adding pressure and then gradually turn the blade.
- Stabilize the metal with your hand. This will help to keep your metal in place, so you don’t make any sudden or sharp movements with your saw.
- Use beeswax. You can also prevent saw blades from breaking by coating them in beeswax – that way; the blades won’t stick to your designs.
- Keep checking the tension. Using the sound test mentioned previously, it’s important to keep checking that your blade is taut enough.
- Don’t add too much pressure to the blade. Instead, hold the frame lightly and use longer, even strokes.
- Start sawing with an indentation. Do this by just sawing a few times upwards when you begin. This will guide you in the right direction for a more accurate result.
Feeling ready to give it a go? If you feel unsure while trying it, re-read our blog on How To Use A Jeweller’s Saw.
Share this post

