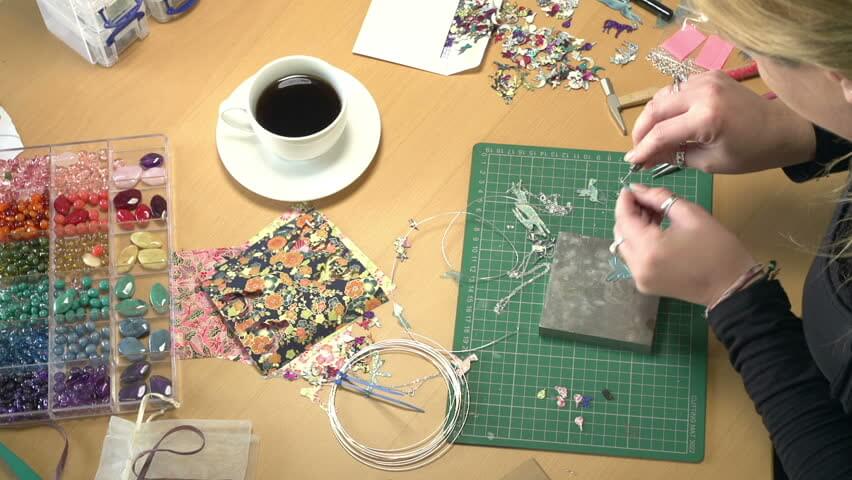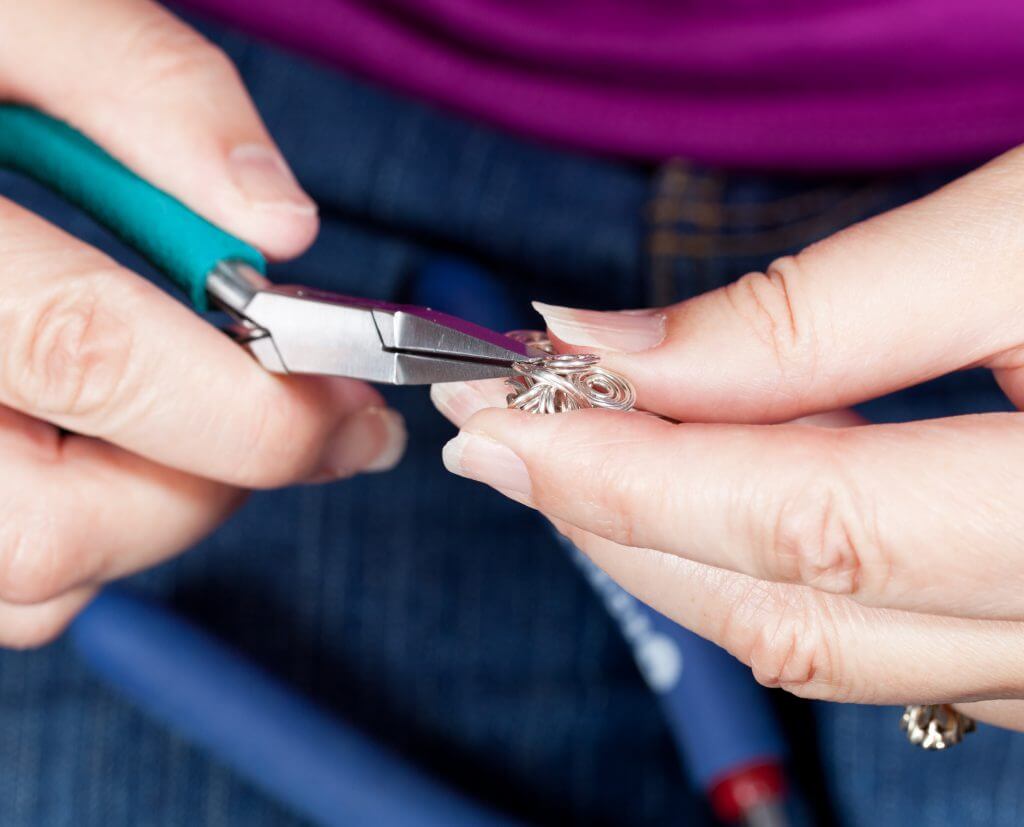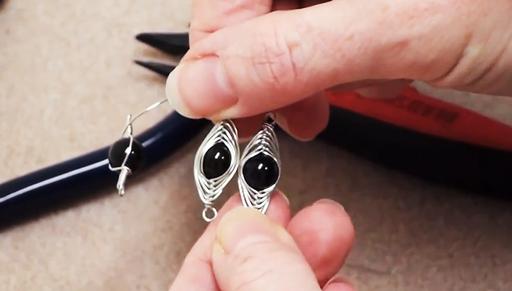
Wire wrapping is a skill that anyone can pick up and master in jewelry making. The beauty of making wire wrapped jewelry is that there is no right or wrong way of going about it – you can create free form patterns with your wire, so making wire wrapped earrings is an excellent way for beginners to get started. Here are the 6 Easy Steps To Make Wire Wrapped Earrings.
That’s why we’ve put together this simple step by step guide on how to make wire wrapped earrings.
6 Easy Steps Wire Wrap Earrings To Make
Jewelry tools and supplies you’ll need:
- Silver wire (0.8mm)
- Glass beads (your choice!)
- Earring hooks
- Jump rings
- Wire cutters
- Round nose pliers
- Snipe nose pliers
- Needle file (optional)
Step 1: Prepare your jewelry wire

For this wire wrapped earrings tutorial, we’d recommend taking your 0.8mm wire and cutting it to a length of approximately 24mm.
The length of your wire may also vary depending on the size of your stones.
If the beads you’re using are incredibly small, you may find that you have a lot of excess wire, but don’t worry.
Also, as you practice this wire-wrapping technique, you’ll be able to gauge better the amount of wire you need per stone.
Step 2: Thread your bead and start wrapping!

Thread your silver wire through the hole in your chosen bead, making sure that you leave some extra wire (approx. 50mm) poking out of the top of your bead to attach your ear hook later.
Now take the length of the wire at the bottom of the bead and start wrapping.
With the first wrap, make sure you wrap as tightly as possible.
To keep the bead securely in place, take your first wire wrap back up in the direction of the top of the bead, where the short piece of wire is shooting out.
Now wrap the wire in a downwards motion, again quite close in position to the top of the bead, wrapping tightly as you go.
Then now you’ve secured the stone with your first wrap, you can get a little more creative.
Continue the wrap the jewelry making wire in any direction you like.
Follow the curve of the stone or create sharp geometric patterns – the choice is yours!
Step 3: Finish your wire wrapping neatly

Happy with the pattern you’ve created with your wire wrapped earring?
Once you’ve wrapped the wire back to the top of the bead where the top of the wire is sticking out, you can now begin to tidy things up.
Take the end of the wire and begin tightly wrapping it around the base of the wire that is at the top of the bead.
How many times you wrap the wire is entirely up to you – we’d recommend wrapping it at least three times for a neat, professional finish.
You may also find that getting a tight wrap at this stage is a little tricky. Use your snipe nose pliers to get a good grip on the wire and to pull it tight as you wrap.
Tip: Remember that as you wrap the wire, there may be small gaps between each wrap.
You can tidy this up by taking your snipe nose pliers and gently squeezing the loops together.
This will bring the loops together and leave you with a much more professional look to your handmade wire wrapped earrings.
Step 4: Cut and neaten your jewelry wire

Once you’re happy with the position and look of the three loops that are wrapped around the base of the top piece of wire, you can snip the excess wire off with your wire cutters.
If there are small burrs, you may want to run a needle file along the edge of the cut to remove any sharp edges.
You can then tuck the end of the wire away underneath one of the existing loops so that it’s secure.
After that, go back and neaten the loops with your snipe nose pliers if needed.
Step 5: Create a small loop at the base of the wire

Just above those three loops you’ve created, you can now make a small loop.
This will hold your earring hook, so it’s important that this is secure and has no gaps for your jump ring or earring hook to come loose.
Using the end of your round nose pliers, wrap the wire in a complete loop, and push the excess to the side.
Making sure you have a complete loop, take your wire cutters, and cut the excess wire.
Also, as mentioned above, if you have any sharp burrs or edges where you’ve cut the wire, run a needle file over the surface of the end of the wire to remove any sharp edges.
Step 6: Add your earrings findings

Now you’ve made the main part of your wire wrapped earrings with these 6 Easy Steps To Make Wire Wrapped Earrings; you can finish the design with a jump ring and an earring hook of your choice.
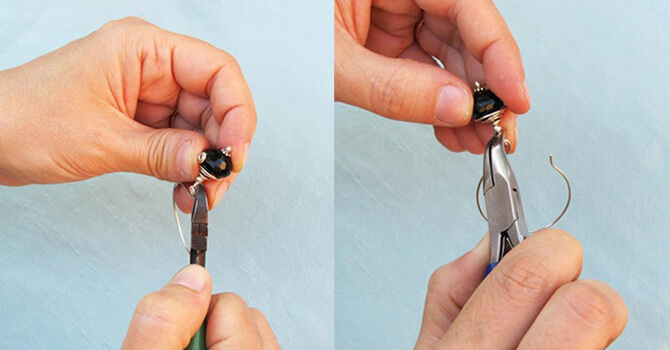
And all you need to do is open your jump ring using your snipe nose pliers.
Tip: Always remember to open jump rings using a side to side motion instead of stretching the loop out.
If you don’t use this twisting motion to open your jump rings, it’s challenging to make sure they retain their uniform circle shape.
Once you’ve closed your jump ring, you can now add your chosen earring hook.
Finally, thread it through the jump ring and, using your snipe nose pliers, squeeze the earring hook wire closed so that there is no chance of it coming loose from the jump ring.
Now you know how to make simple wire wrapped earrings, the possibilities to come up with new variations on the basic design are endless.
You can modify the stone, the shape and size of the stone, the wire wrapping pattern, as well as the kind of earring finding you use.
Whether you wrap your beads in a complete spiral or you prefer a more natural look, make sure you invest in a high-quality jewelry-making wire at Royi Sal. 6 Easy Steps To Make Wire Wrapped Earrings.
P.S. Royi Sal Jewelry, as a decades-long leader in silver jewelry design and manufacturing, invites you to download our latest magazine here and profit from the exceptional jewelry designs at affordable prices you will find in the magazine. Click here to download it now.
Share this post

