Want to learn more about the art of beading? Moreover, how to start making your own beaded jewelry? Use our step by step guide below on how to make beaded bracelets. Our simple beaded bracelets video tutorial will help you discover what necessary tools you’ll need and how to bead to a high standard.
What You’ll Need
- 0.5mm silver wire
- 5mm heavy jump rings
- Sterling silver toggles and hoops
- 8mm round beads
- Small flush cutters
- Round nose pliers
- Tronex pliers
- Long snipe nose pliers
- Small flat pliers
How To Bead A Bracelet

Step 1
Take your 0.5mm silver wire. Using your flush cutters trim approximately 5-6cm of the cable.
Step 2
Now take your round nose pliers and bend the end the 5-6cm wire making a small loop. Please make sure you leave a small amount of the cable free at the end of the circuit so that you can twist it back on itself and around the length of the wire for a tidy finish.
Step 3
Using your flat nose pliers, press down the loop and hold it in place while your snipe nose pliers stabilize the circuit. Take the loose end of the wire that you have wrapped and snip away any excess using your flush cutters. Now you should be left with a tidy loop at the end of the cable making it easy to bead and secure them in place.
Step 4
Add your chosen bead to the small length of wire. To secure the bead entirely in place on both sides of the cable, all you have to do is create another loop.
Step 5
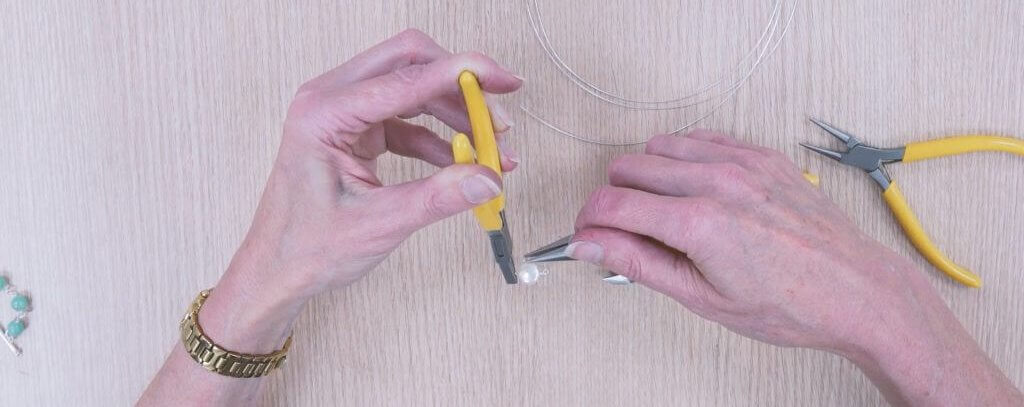
Using your round nose pliers create a loop at the end of the wire ensuring that there is a little wire left to loop around next to the bead to secure it. Your snipe nose pliers are an excellent tool for flattening your loop in place and supporting it as you wrap the wire around using your round nose pliers.
Step 6
Now it would be better if you had one bead in place with a small length of wire running through it secured at either end with two wire wrapped loops. Repeat this process for the rest of your beads.
Step 7
Once you have completed steps 1 through 6, you are now ready to assemble your beaded bracelet. First, take your sterling silver toggle and attach a jump ring to it. When the jump ring is open, connect it to a bead on the other side. Repeat the process of attaching jump rings until you’ve assembled your beaded bracelet to the length that you require.
Step 8
With your beaded bracelet at a length that suits you, you can now add the final jump ring to attach the hoop. Make sure you test the length of the bracelet now that both the toggle and hoop have been added.
Voila! You finished your beaded bracelet.
Now that you’ve mastered the essential art of making beaded bracelets, you can experiment with different variations, beads and clasps helping you to create unique jewelry.
P.S. Royi Sal Jewelry, as a decades-long leader in silver jewelry design and manufacturing, invites you to download our latest magazine here and profit from the exceptional jewelry designs in affordable prices you will find in the magazine. Click here to download it now.
Share this post

