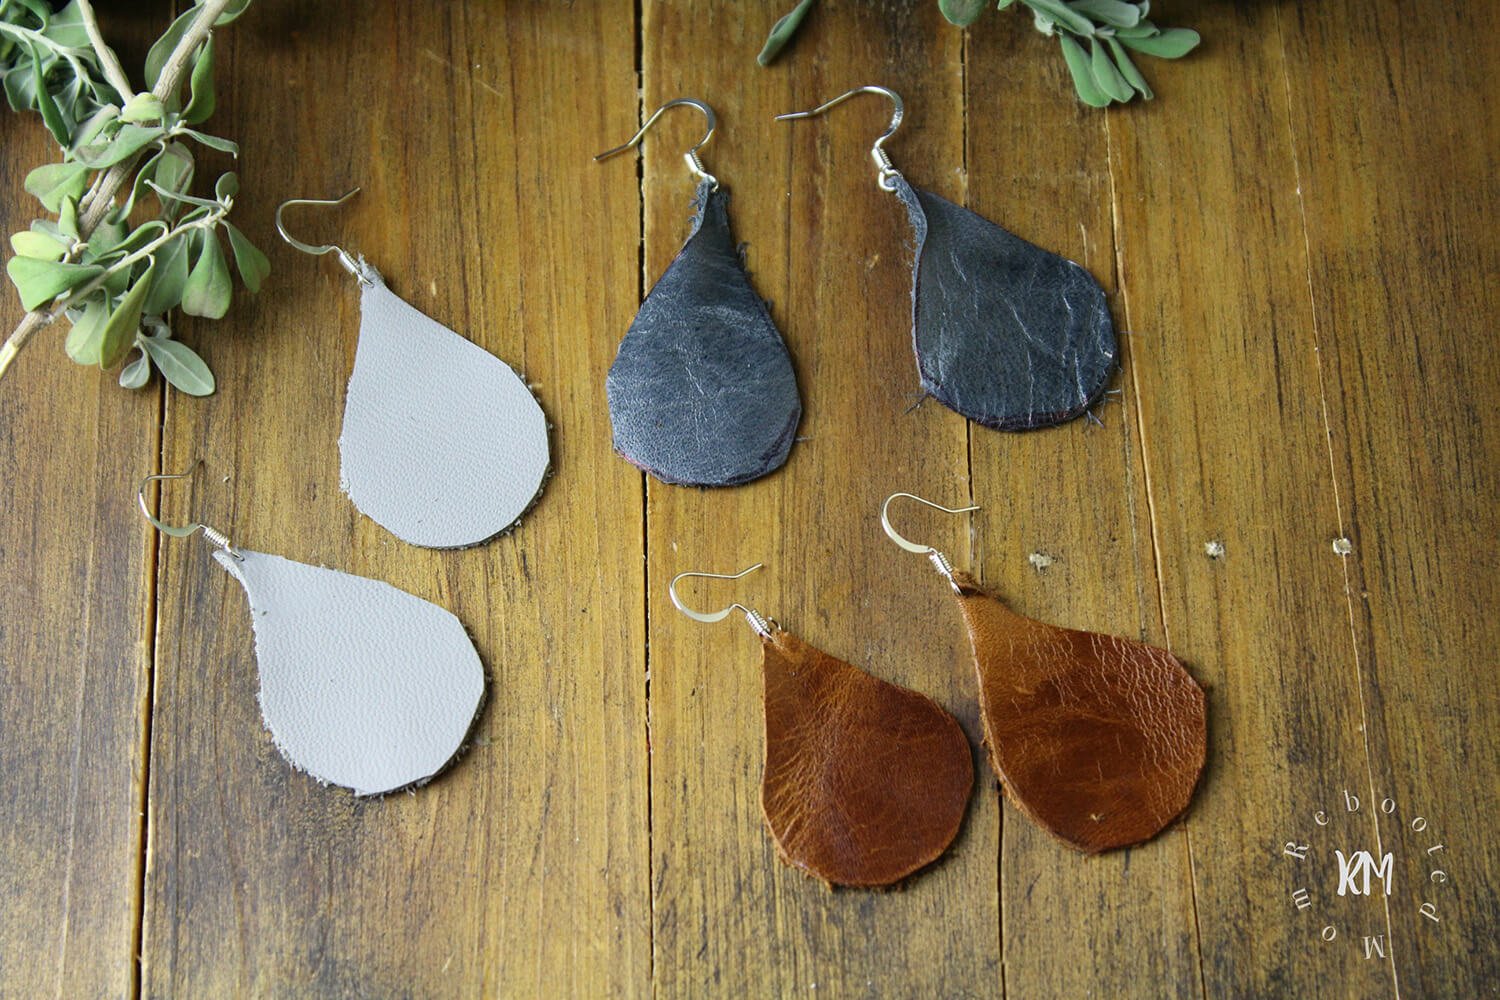
If you’re starting in the jewelry making industry, or you’re looking for something new and a little different to try your hand at, why not practice making drop earrings? Not only are they beautifully simple to create, but drop earrings are a great way to showcase your favorite beads of all shapes and colorways.
We’ve come up with a step-by-step guide for those of you wondering how to make simple drop earrings. All the way from choosing your beads to using your jewelry making tools.
How to make drop earrings for beginners
Making drop earrings need not be a challenging task. All you need is an idea of how you want your drop earrings to look, and the following tools and materials:

- Beads of choice
- Headpins or endpins
- Earring hook wires
- Pliers
- Cutters
Step One: Plan your bead design
If you’re wondering how to make drop earrings with beads, it’s important that you plan your design before you start adding your beads to your pins. You may choose a simple single bead, or maybe a stack of different sizes and colors. You can experiment with different options before you begin, but make sure you don’t take up more than two-thirds of the pin length. Otherwise, you won’t be able to create pin loops correctly (more of that in step four).
Step Two: String your beads
Starting with the bottom bead, string your beads onto your headpin or endpin carefully. You may not like your design once it’s strung onto the pin, but there’s no reason why you can’t remove the beads and start again.
Depending on the length of your drop earrings, you may want to experiment with different pins or earring posts. Browse our selection of earring pins online and start making drop earrings for your collection.
Step Three: Bend your pin
Once you’re happy with your bead design, grip the pin just above the top bead and, using your thumb, carefully bend the pin horizontally into a 90-degree angle. Take care when doing this, as you don’t want to cause unnecessary damage to your pin or beads.
Step Four: Loop your pin
Now it’s time to create a fastening loop. This can be quite tricky, especially if you’re making a smaller pair of drop earrings, so take your time and don’t apply too much pressure to your pins.
Taking your pliers, gently grip the pin above the 90-degree bend. As you grip, pull the pin down around the end of your pliers with your thumb and forefinger, taking care not to bend it into any sharp angles as you do so. As you pull the pin, rotate your pliers clockwise. Then pull the end of the pin back around the loop to fasten.
There are many collections of jewelry pliers that are ideal for helping you make the perfect pair of drop earrings. Browse the round nose pliers for ease when creating your pin loops.
Step Five: Tidy up your pin loops
You may find that there’s excess wire sticking out after you’ve created your pin loops. Take your jewelry cutters and gently snip away the excess, making sure the loops remain shapely.
Step Six: Attach your earrings to your hook wires
Whichever style of hook wires you’ve gone for, it’s now time to attach your beaded pins to the hook wire loops. You’ve essentially created a jump ring when looping your headpin or endpin. Using your pliers, carefully bend the loop open, fasten around the hook wire loop and push it closed. Treat this step with care, as this is the last step and you don’t want to damage your design.
There you have it – six simple steps to making drop earrings. What designs will you create? Once you’ve created a few pairs, you can replicate these steps and switch up the lengths and bead combinations.
P.S. Royi Sal Jewelry, as a decades-long leader in silver jewelry design and manufacturing, invites you to download our latest magazine here and profit from the exceptional or best-seller jewelry designs in affordable prices for 2019 you will find in the magazine. Click here to download it now.
Share this post

