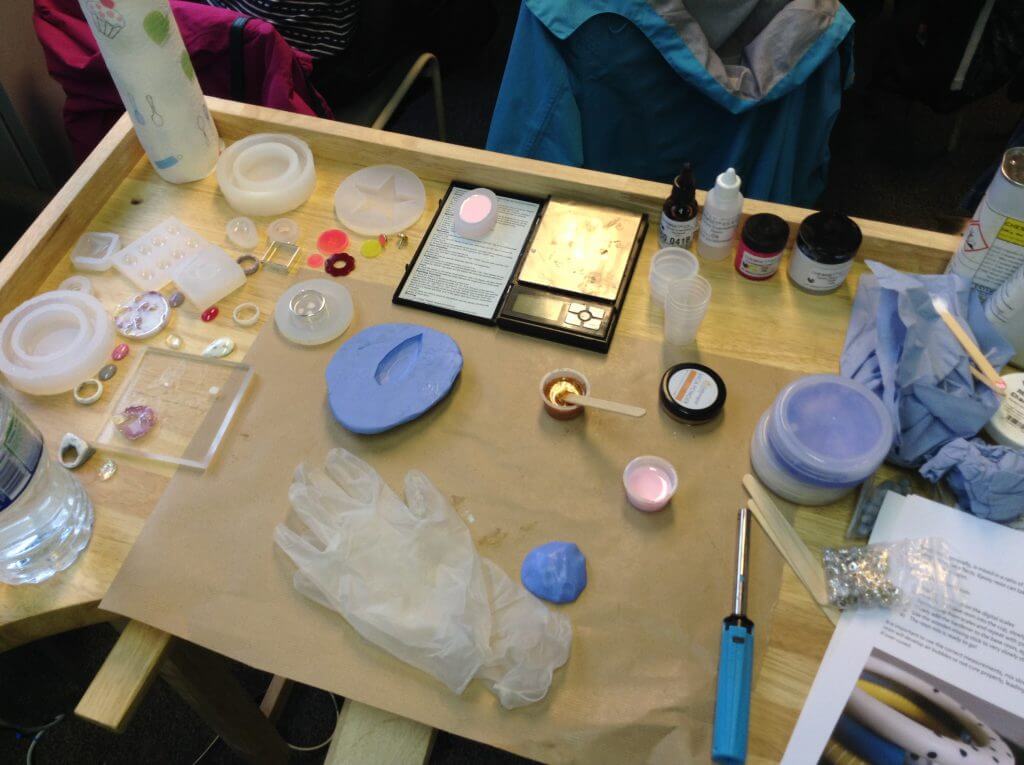
Making your own resin jewelry is so much fun! The possibilities are limitless! This is the perfect resin beginner tutorial for anyone asking themselves how to make a resin pendant. Here are the 6 Steps in Making Your Resin Pendant Jewelry.
To give you some inspiration for making resin jewelry, look at our guide to getting started.
How To Make Resin Pendant Jewelry
Resin Supplies Needed:
Resin Obsession Super Clear resin
Castin Craft Mold Release and Conditioner
Nitrile Gloves
Reusable plastic resin cabochon mold 403
Resin Obsession Stir Stix
1-ounce Reusable plastic measuring and mixing cups
Buttons
E6000 adhesive glue
Glue on bail
Before getting started, you will want to make sure to wear your nitrile gloves and work in a well-ventilated area. It also helps to work on a surface coated in wax paper, making it easier to clean up spills. Here are 6 easy steps to complete your resin pendant.
1. Prepare mold and mix the resin

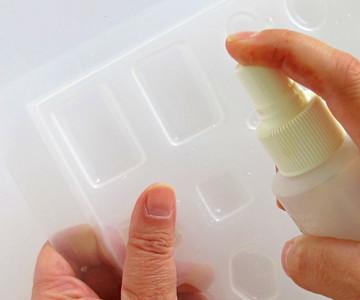
Spray a light mist of Castin’ Craft mold release and conditioner over the mold and allow to dry (usually 20 to 30 minutes).
Measure the proper amounts of resin for your desired resin pendant and hardener in two separate cups—the Resin Obsession super clear resin mixes as two parts resin to one part hardener.
Measured 10 ccs of resin and 5 ccs of hardener (the minimum amount we recommend mixing).
Hint: While it may be tempting only to use one cup, using two cups will allow you to pour off any extra you inadvertently overpour.
2. Pour resin into the mold

Pour your hardener into the cup with the resin and carefully mix with the stir stix. While mixing, scrape the sides of the cup and stir stix several times during the process.
When resin doesn’t cure properly, it is almost always related to improper measuring and incomplete mixing. Do not overlook the importance of this step!
If you do end up with sticky resin, this article will help you troubleshoot: Why is my resin sticky?
Pour your resin into the cabochon well. Hint: Squeezing the cup into a spout will make pouring easier.
3. Place buttons into the resin

Gently place your button jewelry into the resin. Use your stir stick to reposition the buttons as desired.
4. Remove bubbles and allow to cure

Before letting your piece cure, remove any bubbles that may be in your resin. You can do that by lightly blowing over the surface of the resin through a drinking straw.
Be careful not to inhale the resin! You can also draw out bubbles by using a toothpick. Cover your resin casting with a dome before allowing it to cure.
Hint: Sometimes, trapped bubbles can come up to the surface later. Be sure to recheck your casting in approximately 20 to 30 minutes for any additional bubbles.
5. Demold and finish edges

Demold your resin cabochon casting once it has cured by flipping the mold over and gently pressing from the back while twisting. The cabochon should pop out easily.
Sand off any sharp edges or extra resin with 400 to 600 grit wet/dry sandpaper. You will want the sandpaper to be wet so that the sanding friction does not melt the dust back into your resin cabochon and finish your resin jewelry pendant.
Finish your resin jewelry pendant
6. Apply jewelry finding

Once your pendant is finished, glue the bail finding to the back with E6000. You will need to apply glue to the bail and back of the pendant.
Allow sitting for 2 to 3 minutes before pressing the two parts together. The glue needs 24 hours to be completely dry and secure.
After the pendant bail glue has dried, trim or pull away any extra E6000 adhesive.
Hang this beautiful resin pendant on a necklace and wear it proudly! 6 Steps in Making Your Resin Pendant Jewelry.
P.S. Royi Sal Jewelry, as a decades-long leader in silver jewelry design and manufacturing, invites you to download our latest magazine here and profit from the exceptional jewelry designs at affordable prices you will find in the magazine. Click here to download it now.
Share this post

