
For any jewelers or jewelry designers, metal clay tools allow you to shape metal clay and make one-of-a-kind jewelry masterpieces easily. These metal clay tools make it easier for jewelers to shape, mold, and fire the metal clay before polishing the finished jewelry product. Here is the Essential Guide to Precious Metal Clay Tools.
Are you looking to build on your collection of metal clay tools? Whether you’re a complete beginner and need the essentials or you’d like to take your metal clay jewelry making into the realms of stone settings and ring making, find our comprehensive guide to metal clay tools below.
Metal Clay Tools and Supplies for Beginners
1. Metal Clay
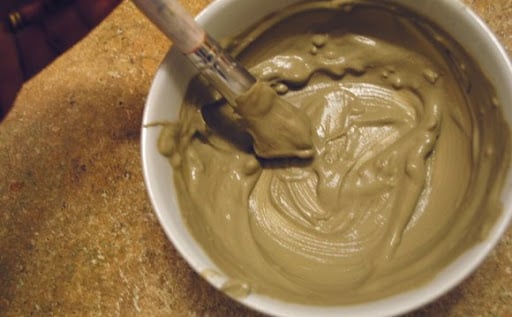
There are a few different types of metal clay that you can work with, namely bronze, copper, and silver clay.
The two leading brands that most metal clay jewelers work with are PMC (Precious Metal Clay) and Art Clay Silver.
Keep an eye out for the amount you choose to buy to start with.
Most metal clays are available in a range of quantities from as little as 5g right up to 50g, so starting small may be the best route to make sure that your clay doesn’t dry out as you use it.
2. Metal Clay Paste
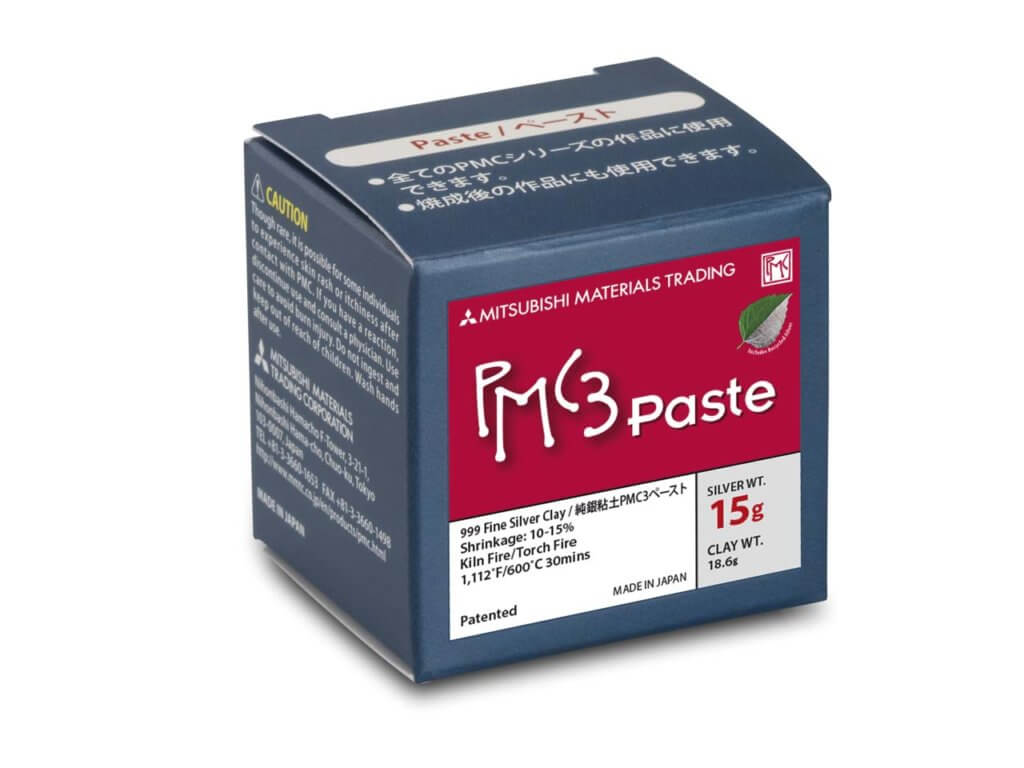 You can make your metal clay paste when you first start. This can be done simply by mixing clay and water into a paste-like consistency.
But if you have the budget, and you think you’ll spend quite some time adding different components to your metal clay designs, you may want to invest in some metal clay paste to help your process along.
3. Teflon Sheet
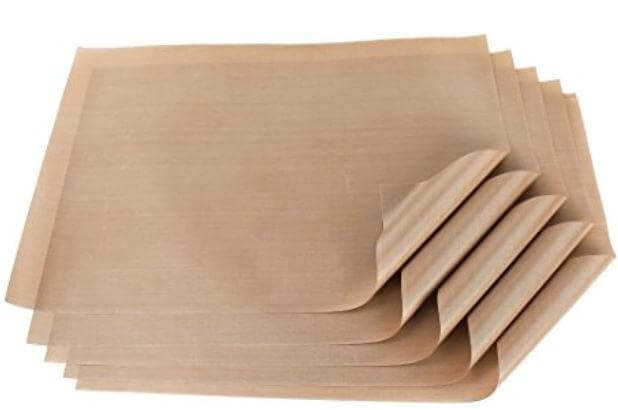
Teflon worksheets are a no brainer when it comes to metal clay. They are used to place your metal clay onto as you work on it.
This means that the clay does not get stuck to your work surface and does not gain any unwanted impressions from your work surface.
As one of our must-have metal clay tools, you may want to invest in a multipack so that you’ve got enough to work with as your production process gets bigger and better.
4. Badger Balm
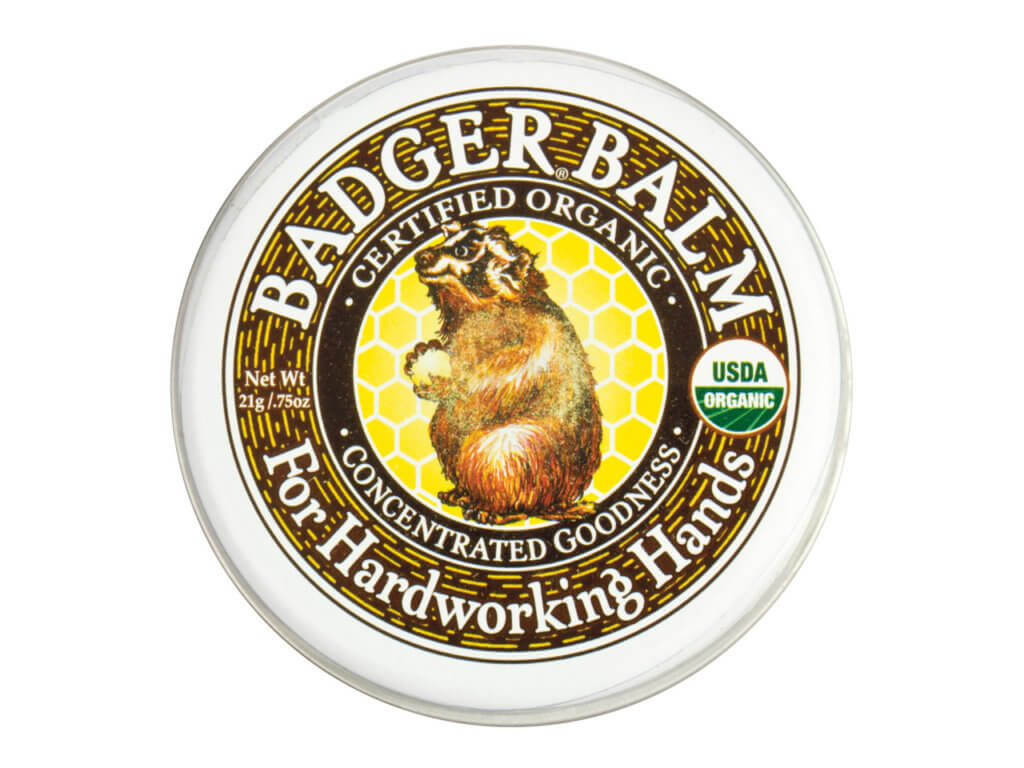
Do you find that your clay is sticking to your Teflon sheets or the tools you’re using? Badger balm is just the ticket.
When rubbed onto hands, work surfaces, and tools, this balm helps your clay designs quickly come loose.
That means no ruined designs and no mess left behind as you work. For a complete beginner’s alternative, try olive oil.
This will stop your clay from sticking but may leave your hands feeling a little greasy.
5. Metal Clay Roller
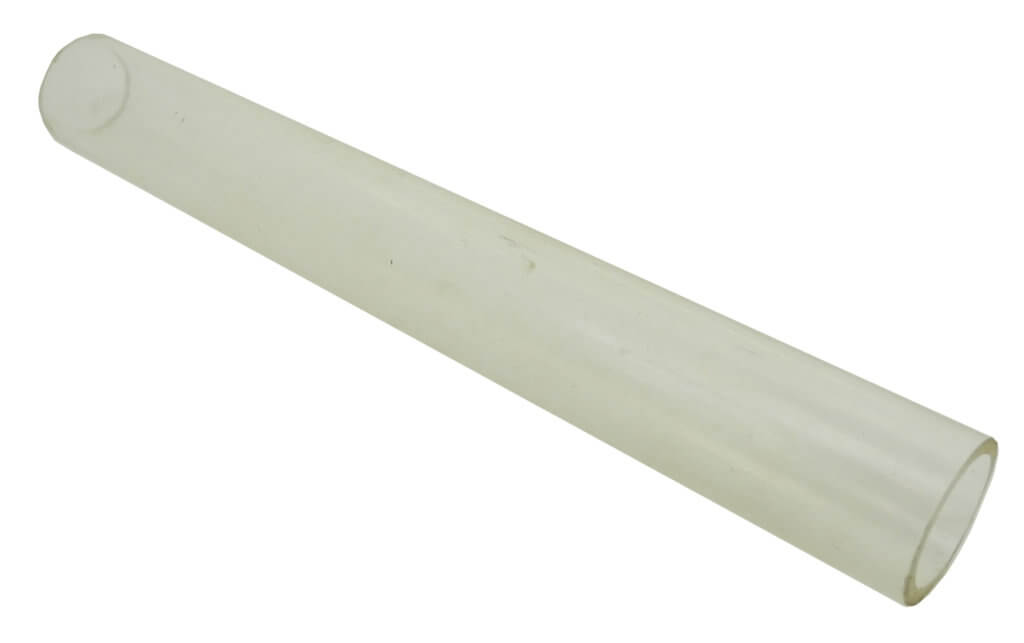
A simple plastic roller goes a long way with metal clay jewelry making.
Invest in a simple roller for rolling out clay pendants, earrings, and charms evenly and accurately.
Why plastic? A traditional wooden rolling pin may leave a slight impression on your metal clay.
Plus, you don’t want to mix your kitchen utensils with your metal clay tools and supplies.
6. Hand Torch
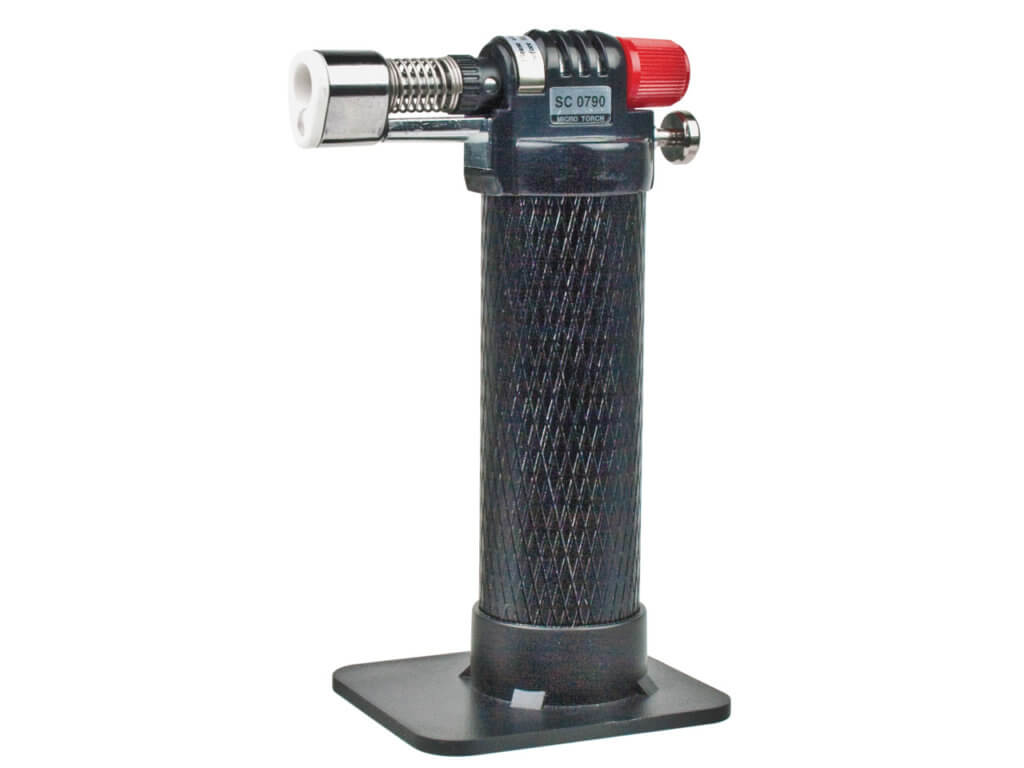
To fire your metal clay, a hand torch is necessary.
Firing using a hand torch is excellent for beginners as you don’t have to invest in a kiln.
7. Spacers or Playing Cards

For a completely even finish when you’re rolling out clay, you’ll need to balance your plastic roller on two spacers placed on either side of the clay that you’re rolling out.
Many jewelry designers use playing cards to get the thickness they’re looking for, so if you’re starting out and already have some playing cards lying around, try this out.
Later, you may want to invest in plastic spacers for a more objective approach.
8. Fire Brick or Soldering Block
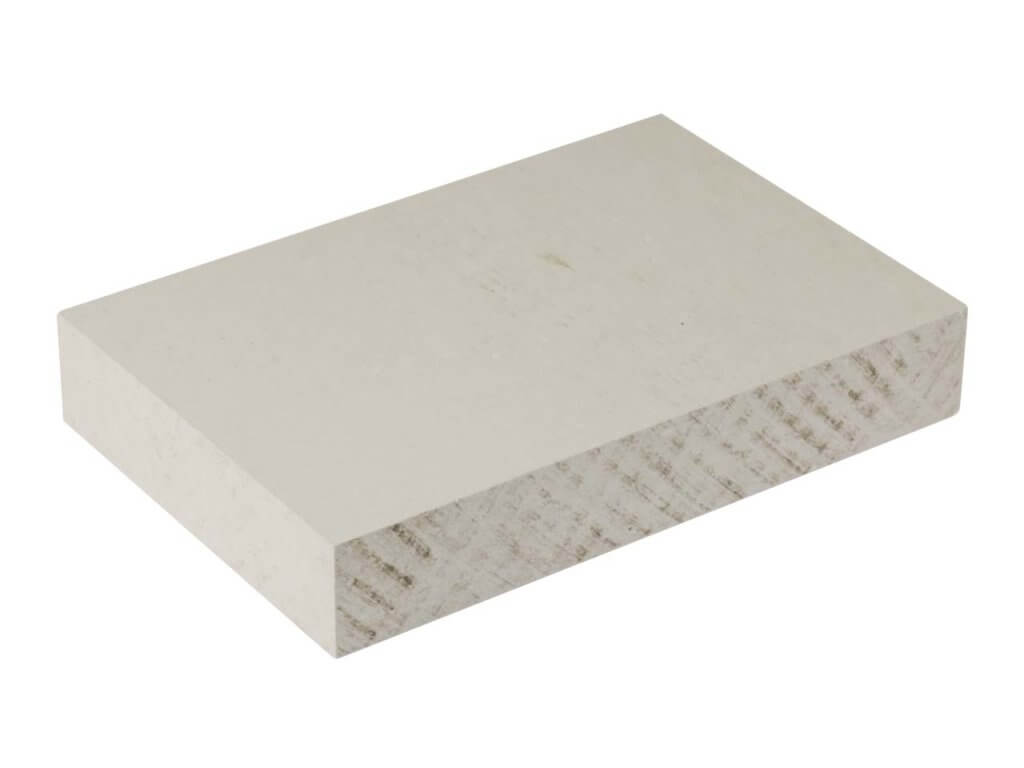 A soldering block is essential when you’re firing using a hand torch.
This will protect your work surface and dissipate the heat as you work.
9. Tweezers
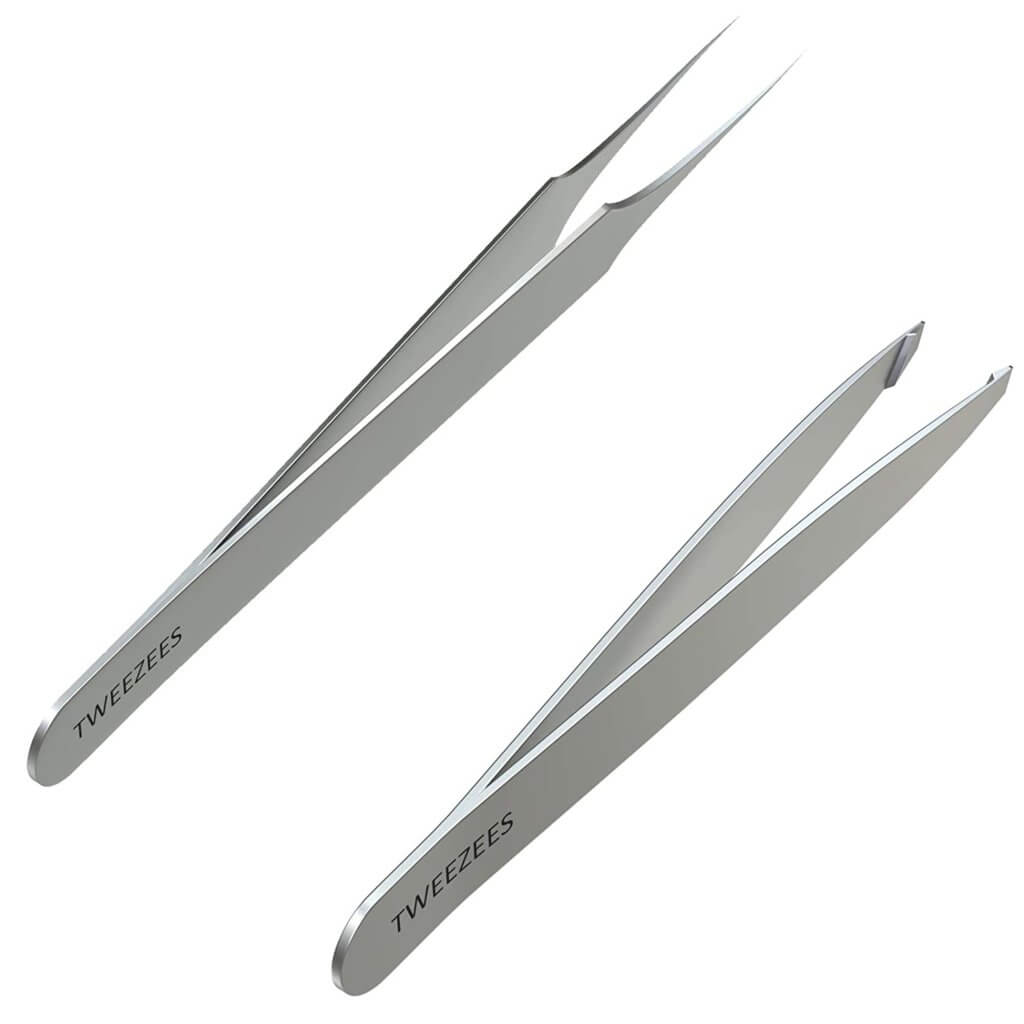
This is vital for handling hot metal clay after firing.
Advanced Metal Clay Tools and Supplies
Are you looking for some more advanced metal clay sculpting tools? Add the following to your collection to help you perfect your designs.
1. Pin Vice or Hand Drill
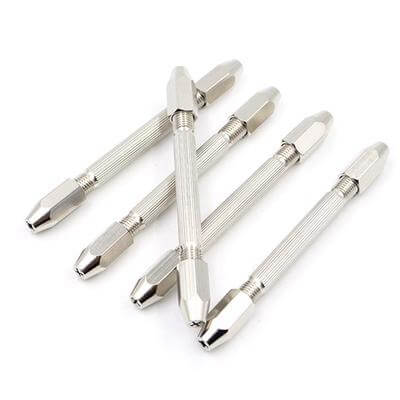 A pin vice or hand drill is the ideal investment when you want to add findings to your designs.
Particularly useful for adding jump rings to pendants, it will allow you to add bails and jump rings to your work with ease even when the design is at the dry stage, before firing.
2. Agate Burnisher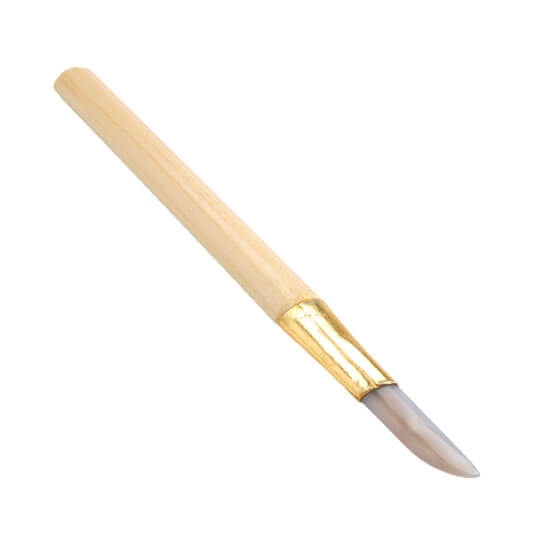
Agate is a hard stone that will help you thoroughly polish your metal clay design after firing.
An agate burnisher will give you metal clay a professional shine.
3. Brass Bristle Brush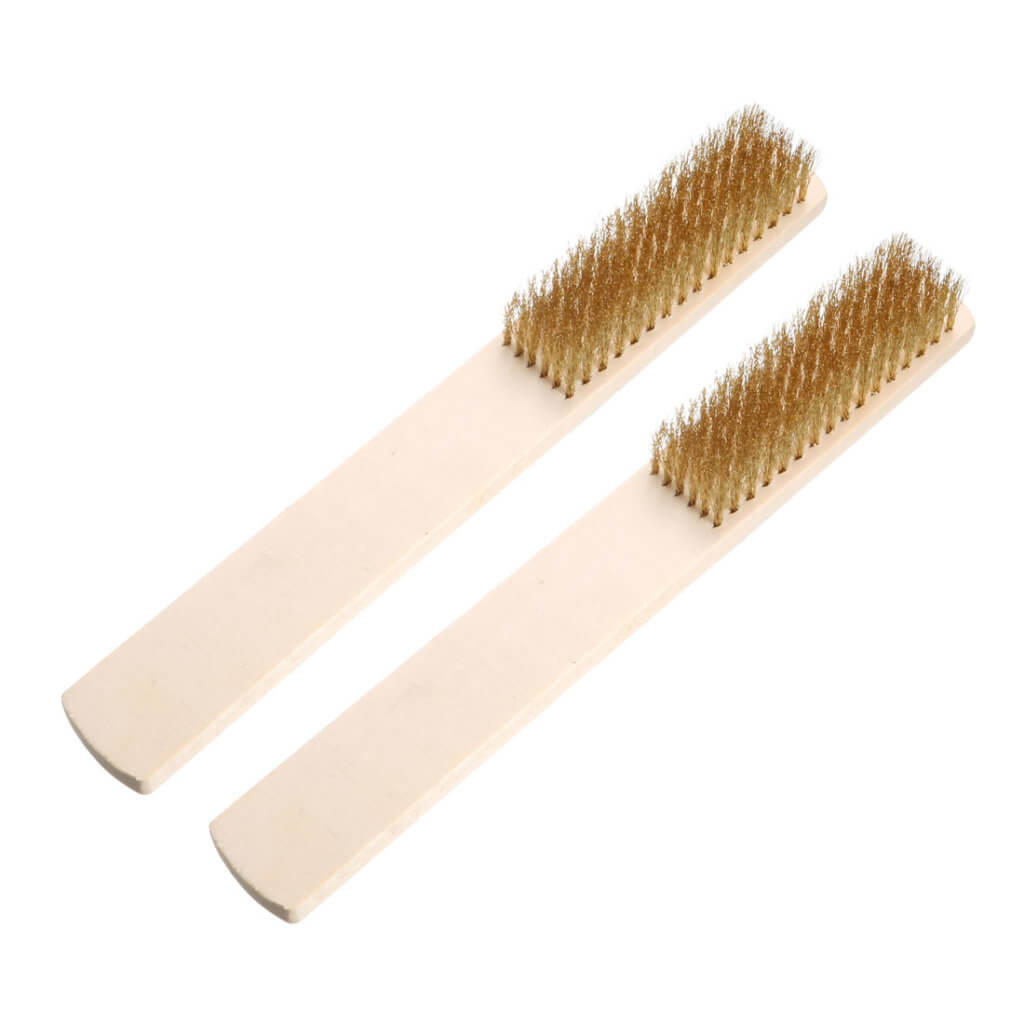
This tool is your starting point for the metal clay polishing process.
Once you’ve fired your piece and quenched it, use your brass brush to remove all the oxidization built up during the firing process.
4. Small Paintbrush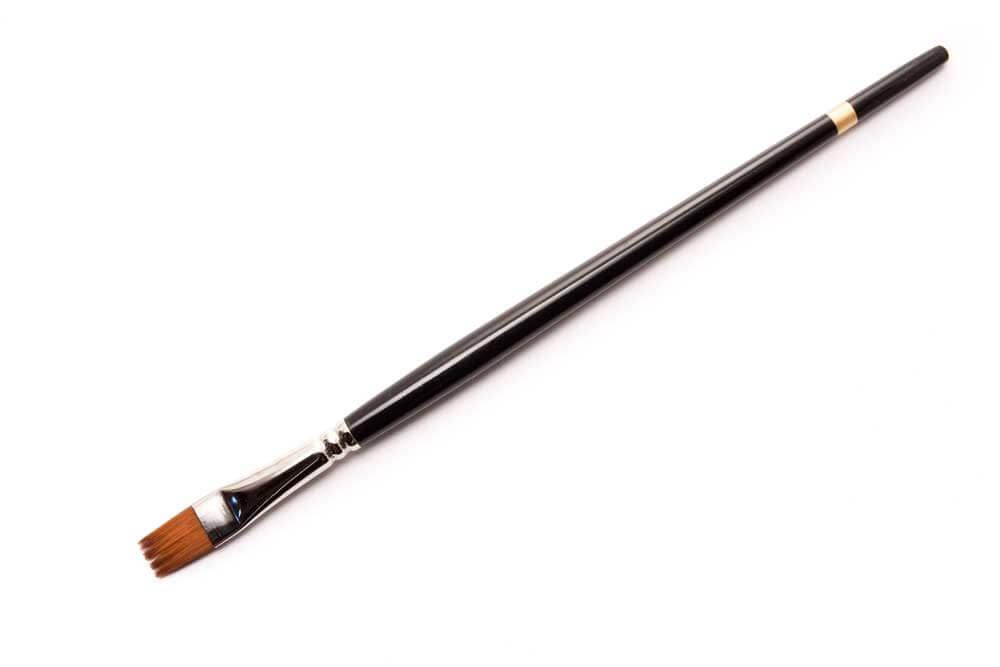
Ideal for brushing away excess clay as you file and polish or for use with metal clay paste as you add new components to your design.
5. Rubber Block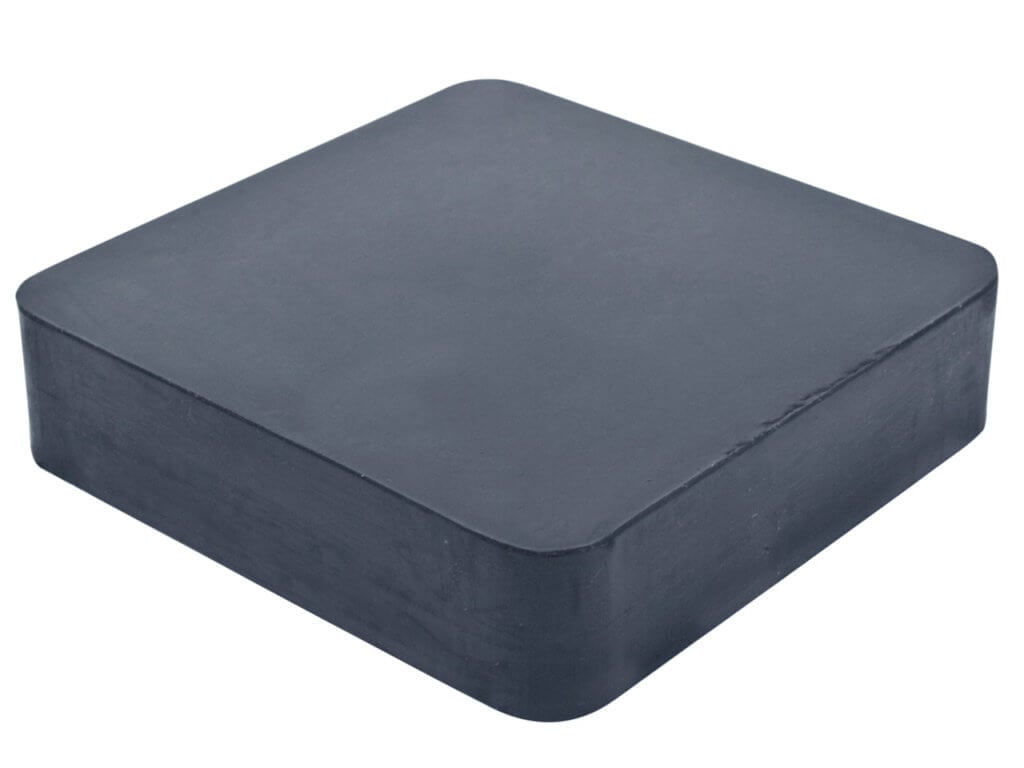
Do you use files, sanding pads, and polishing papers to finish your metal clay work?
To keep your design steady as you work, use a rubber block.
It will stop your design from slipping around and help you more accurately finish your piece.
6. Wooden Ring Mandrel
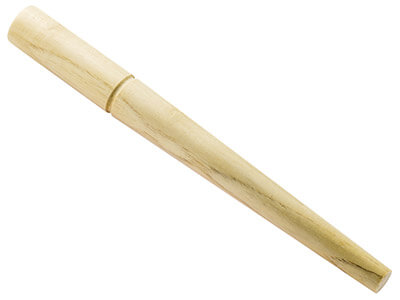 Are you planning on making rings with metal clay? You’ll need to invest in a tapered wooden mandrel to shape and form your ring.
If you don’t already have a ring sizer, you may want to pick up one of these, too, as this will help you get a more accurate ring size.
7. Needle Tool
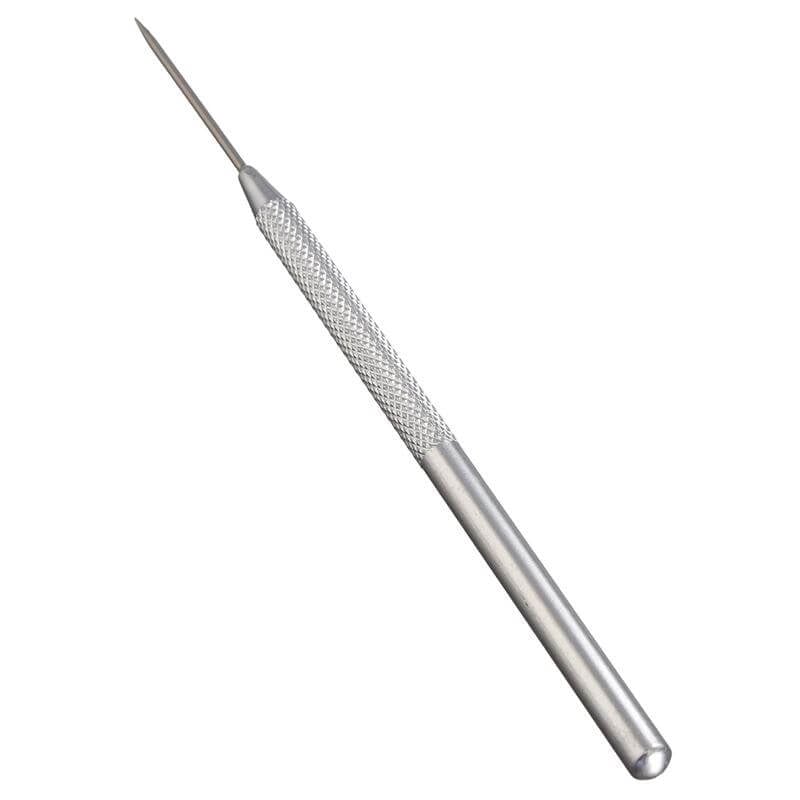
A multi-purpose tool, a needle tool, will help you cut clay and carve out more detail in your design.
It can also be used to push down stones into your clay precisely.
8. Metal Clay Cutters and Moulds
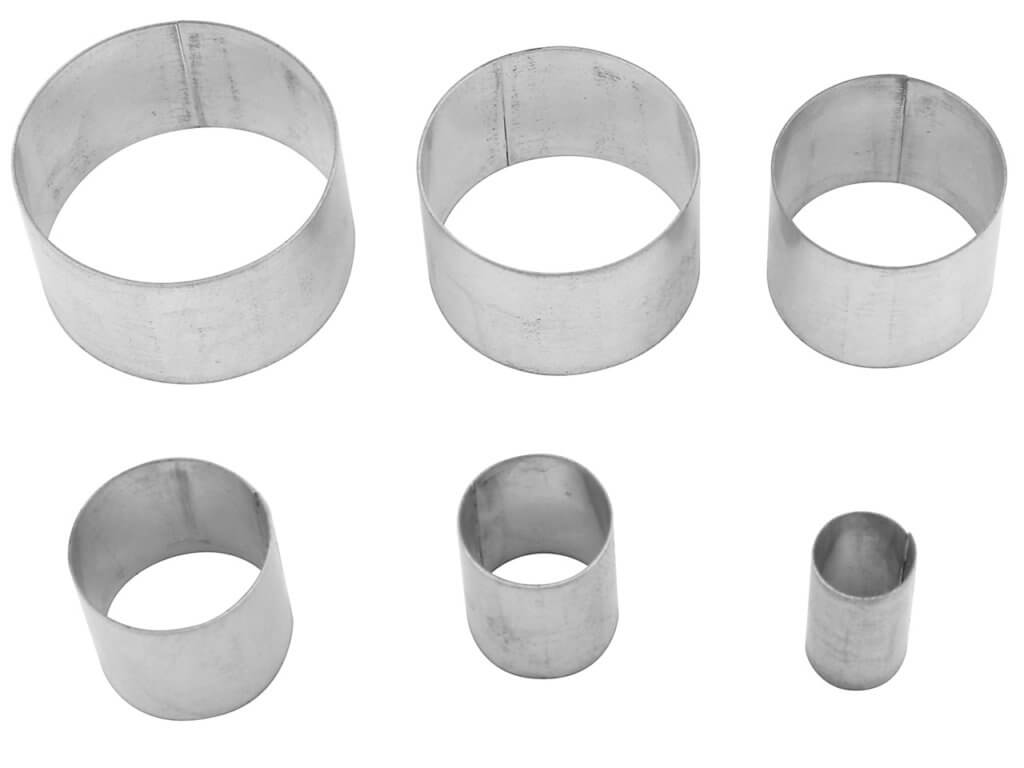
There are various molds and cutters you can use to create different shapes and designs in your metal clay designs.
You can also add an impression with textured sheets made from rubber or plastic.
Don’t be afraid to experiment with natural textures and bold wallpaper to create your designs too.
Metal Clay Tools For A Professional Jewellery Workshop
Are you taking your metal clay tools collection to a more professional level? Think about investing in the following supplies to speed up your manufacturing process.
1. Hot Plate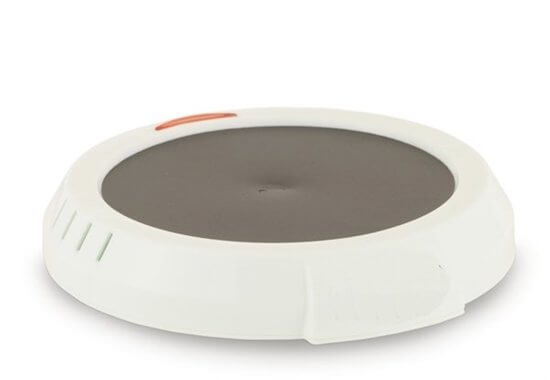
You can pick up a hot plate from a supermarket at a reasonably low price.
This will help you to speed up your clay drying process that is needed between shaping and firing.
By simply placing your wet clay design on the hot plate on a low setting, this will dramatically speed up the drying process and help you fire your designs quicker.
2. Metal Clay Kiln
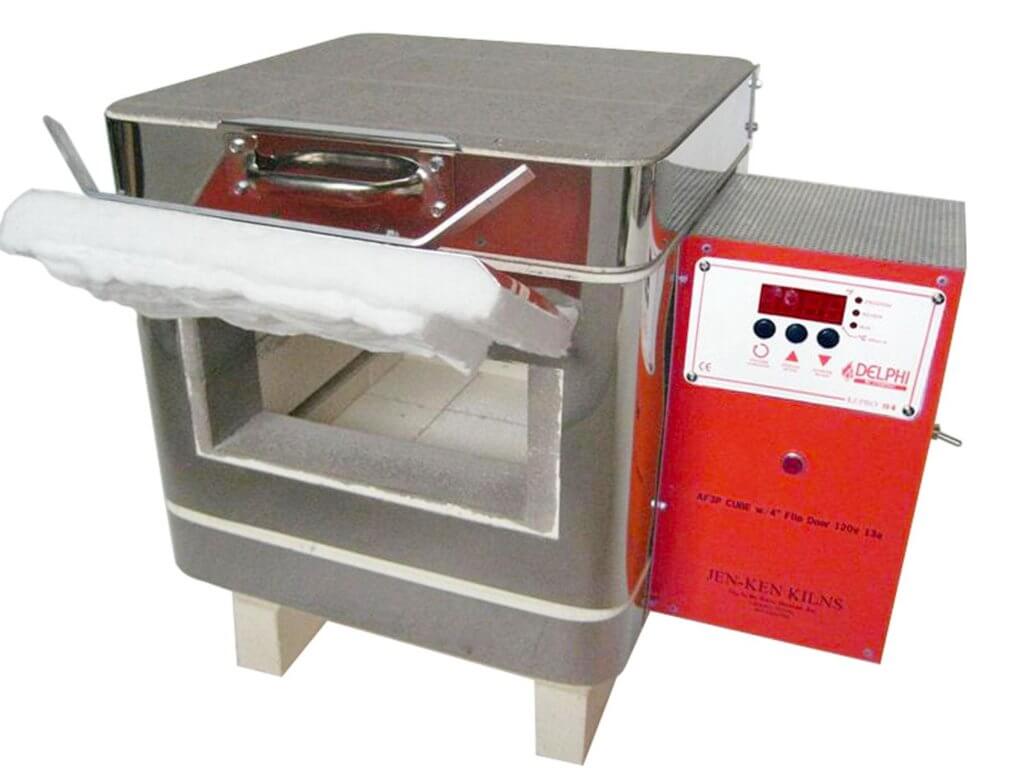
If you’re branching out and making more larger pieces of metal clay jewelry, you may want to invest in a kiln.
This will make sure that your metal clay designs are fired accurately and entirely, leaving you with a fully sintered metal that is durable and long-lasting.
There you have it! A full list of metal clay tools and supplies will help you move forward with your jewelry making skills.
If you’re still a little unsure what to purchase first, look at our precious metal clay kits.
Our kits will give you all the tools and materials you need to get started in metal clay jewelry making. Precious Metal Clay Tools.
P.S. Royi Sal Jewelry, as a decades-long leader in silver jewelry design and manufacturing, invites you to download our latest magazine here and profit from the exceptional jewelry designs at affordable prices you will find in the magazine. Click here to download it now.
Share this post

