Silver chains can make for some of the most stunning, timeless, and enchanting necklaces–not to mention some of the most beautiful bracelets.
Unfortunately, as durable as silver can be, there is always the risk of chains breaking. Thankfully, however, repairing silver chains is often easier than you might think. Learn more about Silver Chain Jewelry Repair.
For individuals, knowing how to repair silver chain jewelry quickly can keep you looking your best; for businesses, having staff that can confidently repair silver jewelry can generate additional revenue streams and keep customers satisfied and well taken care of.

Fixing your silver necklaces and bracelets:
Like most solutions in life, the first step is understanding the problem. Specifically, you initially want to answer three simple questions:
1)What is the style of the chain? (More details in just a second)
2)Where did the chain break?
3)Based on the first two questions, what tools will you need for the job?
For the first question–what style of the chain are we working with, and why does it matter?
The answer to “why does it matter” is fairly intuitive–different chain designs, like snake chains, cable chains, rope chains, curb chains, etc., interlink in different ways and, as a result, may require different tools and different processes to repair.
As a general rule, necklaces and bracelets made up of relatively larger loops, like cable chains and box chains, will be less likely to require soldering, while others may require a solder for a proper repair. We will ensure to provide you with fixes for both in this article.
This also ties into the second question–where did the chain break? Generally, if the break occurred at the clasp or broke loose, the solution is relatively simple: search for a similar clasp and reattach it.

Fixing broken clasps
You’ll need:
● Two pairs of flat-nose pliers
● A replacement clasp
● Jump rings
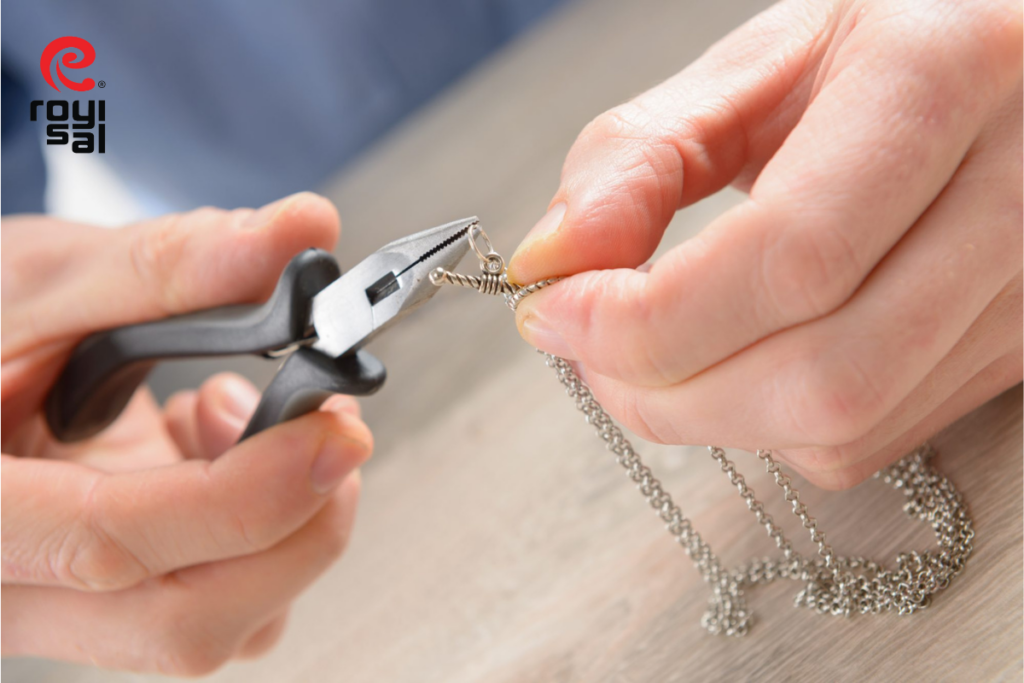
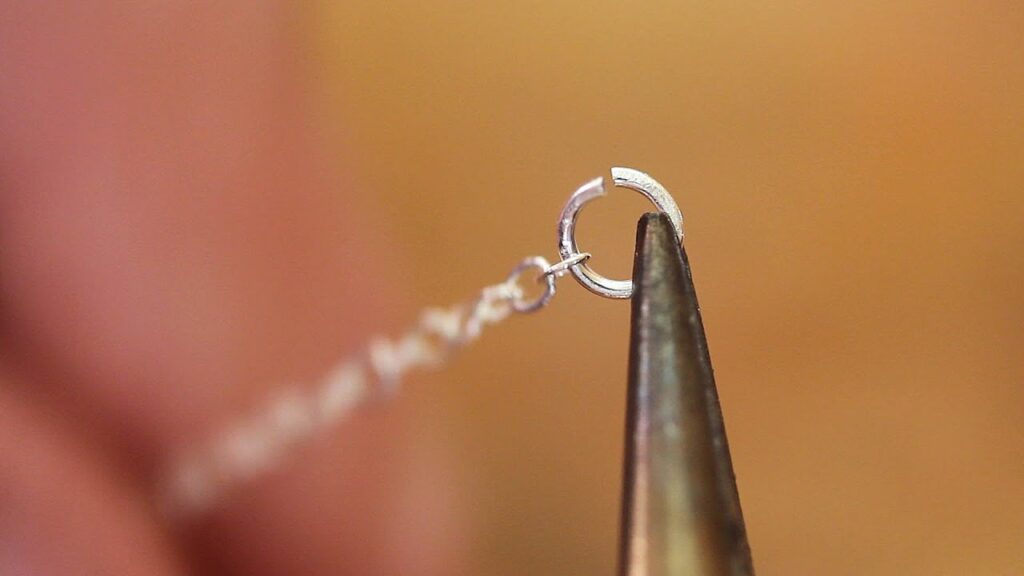
Once you’ve equipped yourself with everything you need, you’ll first have to use your pliers to open up the jump ring (For reference, the jump ring connects the chain with the clasp). Looking carefully, you should see a “cut” or “slit” in the ring–use your pliers to grab onto the ring from opposite sides to pull this slit further open. Once you’ve widened the space, you can pull the broken clasp out through the newly created gap.
From here, you can also replace any damaged jump rings. After you’ve done so, you can connect your new clasp to the final jump ring and, in turn, interlink it through the gap you had previously created. As a final step, you need to seal the original gap, once again, using your pliers.

Soldering Solution
Fixing broken loops with pliers is relatively simple. The real challenge can come when the necklaces or bracelets are either too ornate, too fine, or too complex to be repaired by pliers alone. You’ll need to learn a few soldering skills to repair the jewelry.
You’ll need:
● Silver Solder (Hard)
● Soldering Torch
● Soldering Probe
● Flux
● Pickling Solution
First and foremost, the silver you’re working with must be clean. If the silver isn’t adequately cleaned, it will directly impact your ability to solder them effectively.
Once you’ve properly cleaned your silver, you’ll want to make a tiny mark to delineate where your solder joints will be. This practice is a great way to ensure the highest possible level of accuracy.
Next, you’ll want to ensure that the joints you’ll be soldering are as tightly flush with one another as possible.
After that, you’ll be getting to work with the soldering probe. Some readers may be unfamiliar with soldering probes, and some guides may not include them. However, whenever you’re working on such an intricate scale, we believe that it’s too easy for a torch to blow your solder out of its proper place–as well as opening your up to the potential risk of solder bunching up on your chain link, leaving a messy and unprofessional looking final product.
Thankfully, a soldering probe allows you to avoid both risks, effectively allowing you to get a clean solder onto your chain links without having to solder them together in ways that open you up to needless risks.
So, apply flux to the probe’s tip with your soldering probe in hand. The flux serves various functions: coating and protecting the silver while allowing the solder to flow effectively over the joints after heating.
With the tip lubricated by the flux, next heat the tip with your soldering torch. Once preheated, you can apply the solder, placing a small soldering pillion on the probe’s tip. After the tip becomes hot enough (from the soldering torch) that the solder begins to flow, you can stop heating the probe.
Now, apply the solder to the chain link that you’re repairing. The markings you made a few moments ago will be an easy way for you to know exactly where to use your solder. You’ll want to do this gently–not need to push or apply undue pressure.
You will likely need to reapply the solder, which will require you to reheat your probe. When reheating your probe, you should be certain to apply the heat approximately 10mm further away from the solder-covered tip. This distance will heat the probe enough for the solder to resume flowing without overheating the solder and compromising the quality of your results.
This process can be repeated until your soldering is smooth, neat, and complete.
After the soldering is done, you should rinse the joint in water. Finally, unless the flux you used was “self-pickling” (not all brands are!), you’ll typically want to pickle your newly repaired jewelry to clean it properly as the last step.
Whether you can use simple pliers or have to involve soldering, the repair process for silver chain jewelry is relatively straightforward. Unsurprisingly, the key comes down to practice and experience. Now that you have a clear guide to follow on how to repair silver chain jewelry, you can hopefully be better prepared to repair jewelry for yourself, or your customers, in the future.
Of course, if you still have any questions or want to get in touch with any of the experts here at Royi Sal, we’d love to hear from you! As your premier silver jewelry partners, we’re always eager to help support you in your jewelry manufacturing aspirations.
Share this post

